Saturday, November 24, 2012

keeping things creative & crafty

Being home for Thanksgiving break has been so nice, and I was really craving some rest and relaxation time while I was up at school. Along with that, I was really excited to craft in my kitchen back home. So today when boredom struck, I scrolled through my craft board on Pinterest and was inspired to decorate a coffee mug. I had a plain white one here at home I could use, and I found inspiration from this blog to make my own stamp to stamp on feathers onto the mug. So I can't take credit for thinking of how to make the stamp on my own, but I just decided to use it in a different way. Check out my process below.


Materials used: ceramic mug / paint brush / foam paper with an adhesive back ($1 at Michael's) / Martha Stewart Glass Paint in Glass Opaque Shade: Vanilla Bean (approx. $4 at Michael's) / scissors / note: download the Michael's app on your phone for coupons. I got my foam paper and paint for 20% off with the app.
I ended up buying this paint because it supposedly was dishwasher safe on glass once you baked it or let it dry for a certain amount of time. I couldn't find any ceramic safe paint so after consulting my crafty friend Abigail we decided the shiny ceramic surface should hold the paint much like glass would. Results on that to come.
My first step was to practice drawing a feather on paper and then when I got the look I wanted, I drew on the foam with a ball point pen.
It was convenient that the foam paper had an adhesive back because then I just cut the feather out of the foam, cut squares around the feather, and stuck on the squares together to make the base of the stamp. I then stuck the feather on top and the stamp was complete.
Before stamp painting on my actual mug, I did some trial and error stamping and painting on paper.
I found that lightly coating the paint onto the stamp with a paintbrush was the most successful application process for dipping it into the paint caused the paint to be in globs on the stamp, which distorted the feather when stamped.
Making multiple different feather stamps would have created a cool look, but I decided to just flip the feather upside down a different parts to create a different look rather than making a whole new stamp.
I thought about writing a verse or song lyrics on the mug, but I ended up just applying my name to it because sometimes when you live in a sorority house with 75 other girls, it's nice to label your stuff.


After painting on the design, you set the mug in the oven and preheat it to 350 degrees. After its fully heated, you keep it in there for 30 minutes. After that time is up, turn off the oven and let it cool for an hour. (Instructions per the Martha Stewart website).

I'm really happy with how the mug turned out, and after baking it I smudged some of the paint with water and it did not come off! So I'll let you know if after washing it the design is still in tact or not. I'm hoping I can keep it as perfect as possible by hand washing it. The process was not difficult at all to make the stamp, and I'm hoping to try it again over Christmas break perhaps on a shirt or tank top.

Happy belated Thanksgiving! I hope you ate lots and lots and lots of food.

Monday, November 19, 2012

Intensity is over with

My third project is due tomorrow morning in BDS and although it was nice to have the deadline pushed back a little bit, I'm ready to move on from this project. I finally finished my book this last week and printed my process notebook at Jayhawk Ink today so everything is officially ready to be turned in! Which is a great feeling. Check out my work below.


Through the photos above you could probably tell that my book included a fold out poster inside in which the pictures became more intense in size as you unfolded the paper. I also used the idea of the intense angles in cropping the photos, taking the photos, and using intensely angled orange lines throughout the book. The cover even was cut with intense angles.

My process notebook was done a little bit differently this time. I decided to make it 8.5" x 8.5" to mix it up with the size a little bit and I got it "perfect bound" at Jayhawk Ink. Here are some screen shots of the book from InDesign:


This is the cover of the book in which I made the back to mirror the front cover


I am really happy with how this process notebook turned out and it caused me to want to try more "risks" like changing up the size of the book in the future. This project overall taught me a lot like the importance of trying and failing and trying and failing (which I did many times while making my photo essay book) and also the importance of using your inspiration throughout the whole design.

Friday, November 16, 2012

Design on a whim

I really love working with typography and learning new fonts and ways to use them and have been really inspired this week to do more work with typography in order to gain more experience in that area. Because of that, I decided to work with a picture I had taken down by Clinton Lake here in Lawrence as well as some new fonts I had downloaded to make a new creation.


I love the power of the written word, and especially it's impact when it's played out in design.

Project Update
This week has had quite a few ups and downs with my project. I started out the week thinking I was right on track and for Tuesday's BDS 101 class had produced this book for my photo essay book part of the project:

I had used foam core board and covered it in fabric which in theory was a good idea, but I did not execute the idea exactly as I would have liked. I don't know if you can tell from the picture, but the fabric didn't make the board look professional at all and the inside folded section was way too thick to fold. Luckily, Tim announced in class our projects wouldn't be due until the following Tuesday (they were previously going to be due this last Thursday). Because of this, I was able to scrap my original idea and start off with new and better materials to use.


I purchased a board material from the Jayhawk Bookstore and used that as the base, still taking inspiration from the same design of the book as my previous idea. Instead of covering it in fabric, I designed a cover in Illustrator from inspiration from my 6"x"6 squares to then print out and apply to the board with rubber cement. I am planning on using canvas fabric to bind the inside together. I have not quite completed the process yet, but I also printed the inside book content on thinner double sided color paper so that it folds much easier than before.

One high point of the week was the outstanding photos that Anna and I were able to take of our letters for inside our books in and around Allen Fieldhouse.


While we were not able to get permission to take pictures on the actual court in time, I think the pictures inside the Booth Family Hall of Athletics turned out very well as well as the one outside the Fieldhouse. I am pleased with how these photos turned out, and am hoping my book will be executed in an excellent way to display them.


Saturday, November 10, 2012

The Technical side of Typography

I absolutely love typography and everything you can do it with it. The amount of emotion that you can display through typography is a beautiful thing. I have actually been studying typography in my Journalism Visual Communications class as well as in BDS 101. I wanted to share a little bit of what I've been learning with you through a response to some in class readings as well as an update on my BDS project.

Typography: The art or process of setting and arranging types and printing from them. (Definition found via google).

Reading Response #1
The first reading was a PDF titled "Parts of a Letter". This reading discussed and taught all of the vocabulary that goes along with the parts of each letter as well as the importance for designers to know this typography language so to speak. Typography originally evolved from handwriting and the marks that make up writing a letter. Because of this, the base of a letter is the linear stroke or stem. The craft of typography has been developed over the last 500 years, and knowing the technical terms will make it easier for one to identify typefaces in the future. Rather than list all of the vocabulary or terms, I thought I'd highlight across some of the most important ones.

Serif: the short strokes that finish off the major strokes of the letter form.
Some of the most popular serif fonts are Times New Roman and Georgia, the font you see here on my blog. Examples of sans serif ("sans" meaning without therefore a typeface without the serifs) are Arial and Helvetica.
Baseline: the imaginary line defining the visual base of the letterform. All letterforms sit on the baseline.
Cap Height: the height of the uppercase in a font, taken from the base line to the top of the character.
X-Height: The height of a lowercase x. Note: different typefaces have different x heights.
Ascender: A stroke on a lower case letter that rises above the the x-height.
Descender: A stroke on the lower case letterform that falls below the baseline.

An example of all of these terms and more can be seen in this photo I took from the PDF.


Reading Response #2
Our second reading was titled "Photo Ops" by Jim Krause. A quote I enjoyed from the article was: “With your eyes wide open your day becomes a stream of photo opportunities”. The article was broken down into different sections about photography and I took notes on each of these sections.
Symmetry & Asymmetry: symmetry is balanced composition that is easy on the brain. It could be formed naturally or contrived and it doesn’t need to be mathematically perfect but can be more free flowing and pleasing to the eye. Asymmetry is more chaotic than casual. As stated in the article, symmetry comforts while asymmetry challenges. Asymmetry is based on off balance looking balanced and to what degree is up to the designer’s discretion.
Repetition: People repeat them selves to make something more dramatic or make a point, and visual repetition does just that as well. Repetition within an image can cause people to want to take a second look and ask themselves why the object is being repeated as well as creates harmony within the image.
Framing: As stated in the reading, helps directs the reader’s eye to the center of interest. It also keeps the eye within the composition and some of the best framing goes unnoticed. The framing should relate to the main subject of the composition and not seem more important than the key part of the composition.
Close-Up: No matter what kind of photos you are shooting, be sure to take radical points of view such as close-ups in order to explore all of the beauty about the subject. Without getting close, you might miss some beautiful aspects of the detail of the subject. Focusing on a detail of the subject with your camera can create a very unique and interesting point of view.
Continuous Mode: It’s always a good idea to take a 360 degree or panoramic view of wherever you are taking shots. These pictures could create a cool flipbook, a series, or stack of prints that could create a beautiful portrayal of action and movement.
Exploration: Pick an object or subject and take at least 100 photos of it exploring lighting, focus, point of view, etc.
Movement: Shake, twist, and move your camera. Don’t be afraid to go out of the box, you never know what cool photo composition could come of it.
Serendipity: Always be prepared to take a photo or record art, you never know where you’re going to find it.

Reading Response #3
The third and final required reading is called "Photography" by Steve Edwards. This article explained and took the reader through the history of photography in documentary and art form. The article was lengthy and full of great information, so I took some notes on the parts I found to be most informative of the article. 
-There are two main reasons to continue to study art-photography. One being that many of the key photography terms came from early photography and made it more possible for the first viewers of art-photography to imagine and shape their ideas. Secondly, art-photography and document-photography are linked together in the fact you can draw a great deal of meaning from their differences. 
-During the 19th century art was continually bringing in new ideas and it was at this time that photography was established among the art community. Sometimes photography was just seen as a way to copy things, but artists continued to push the envelope and show that photography could be an art form as well.
-Photography brought the idea of not having to have artistic skill to replicate what you see or what you want to write. This was an exciting idea for people, specifically scientists, at the time.
-In the late 19th century document photography was used by state and private organizations to produce a record of facts rather than an interpretation of them.
Robert Capa was a war photographer who said “if your pictures aren’t good enough, you aren’t close enough”.
-At the end of the 1920s flashblubs were introduced that allowed pictures to be taken in badly lit situations.
-It was during the 1920s and 1930s that mass magazines used photographs to tell stories.
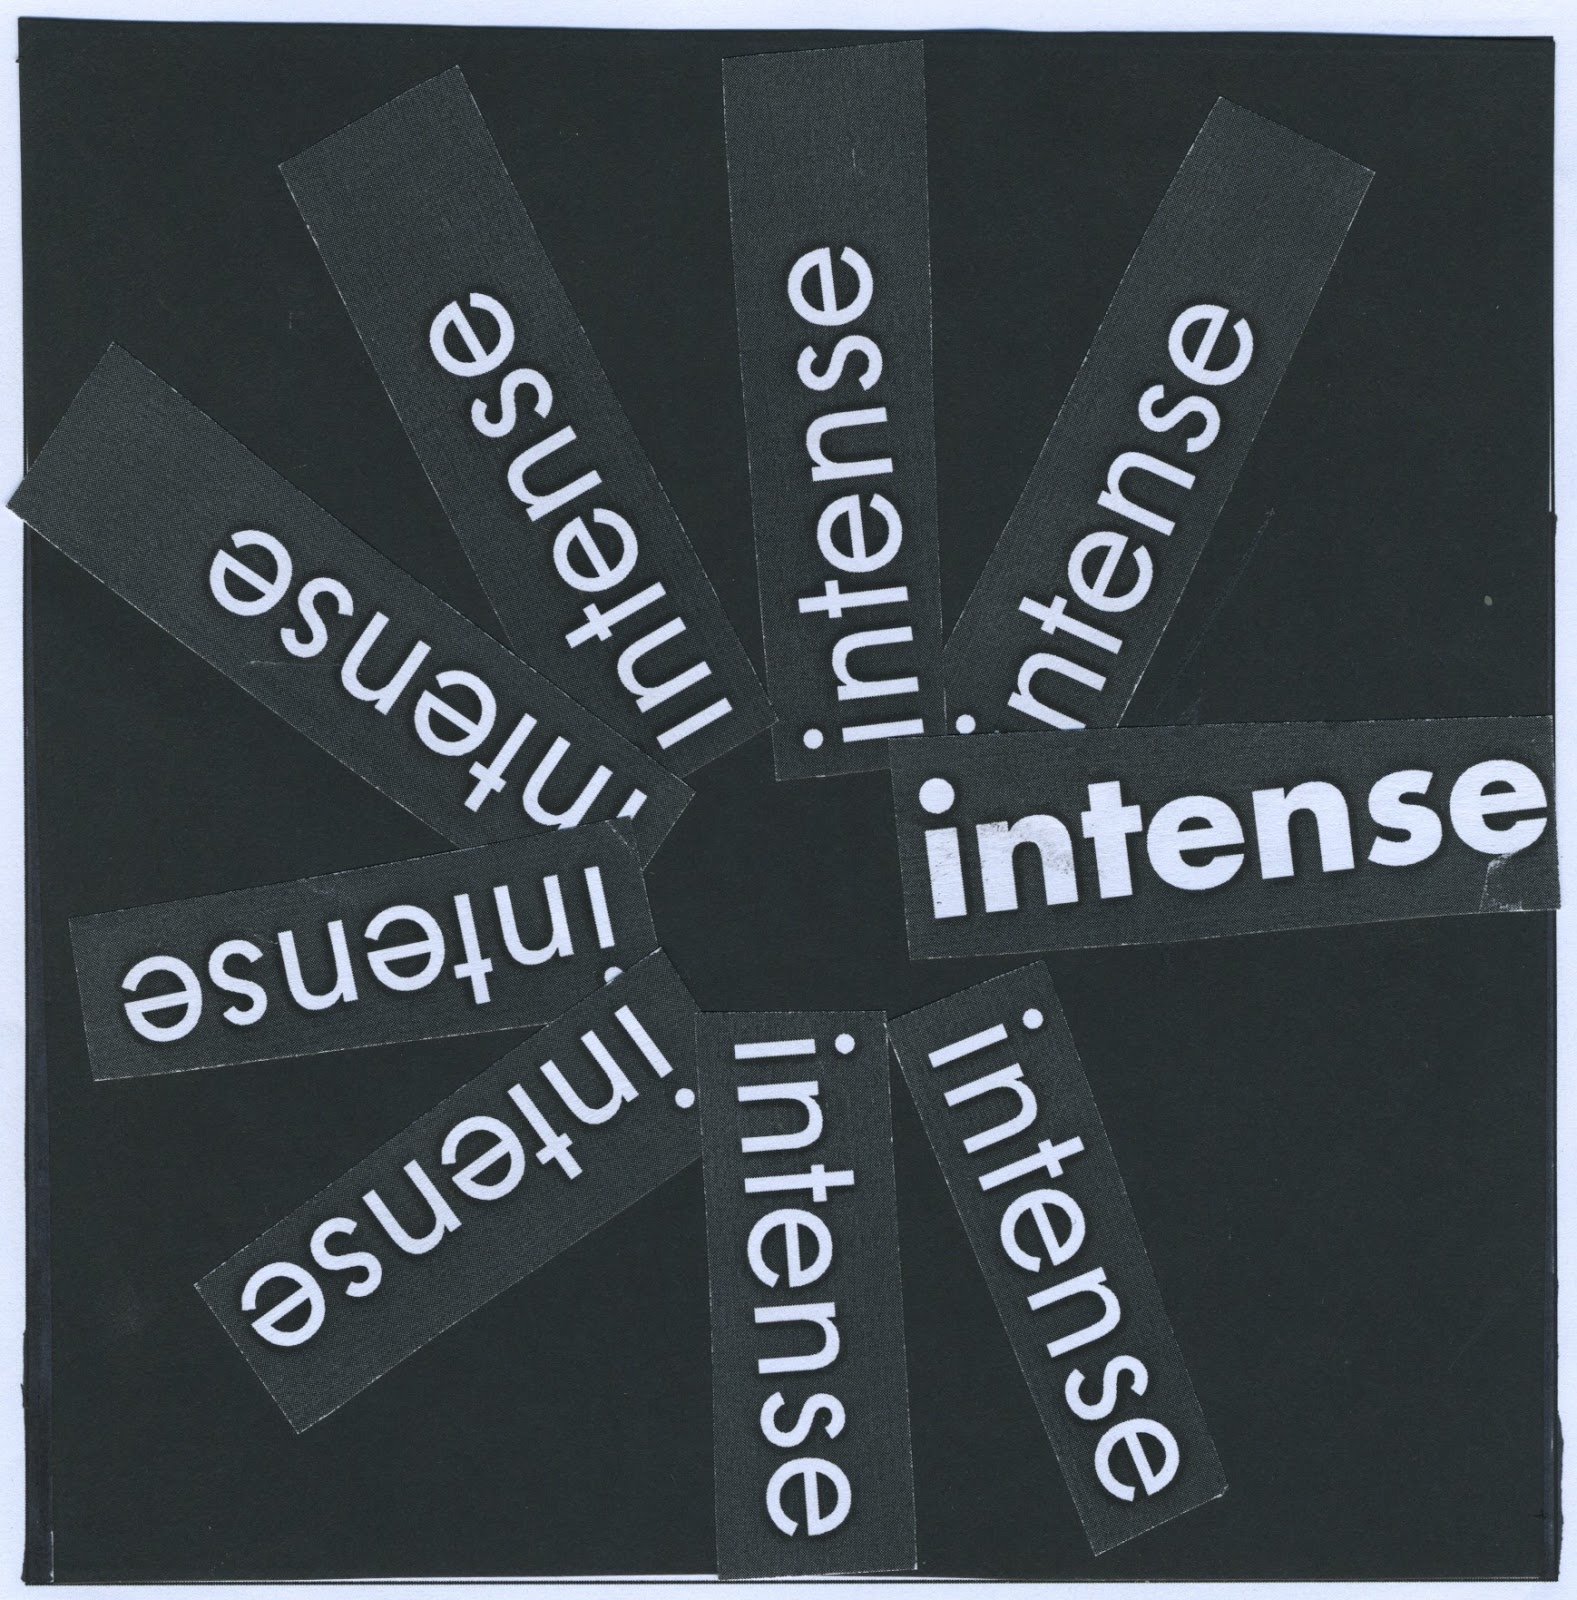
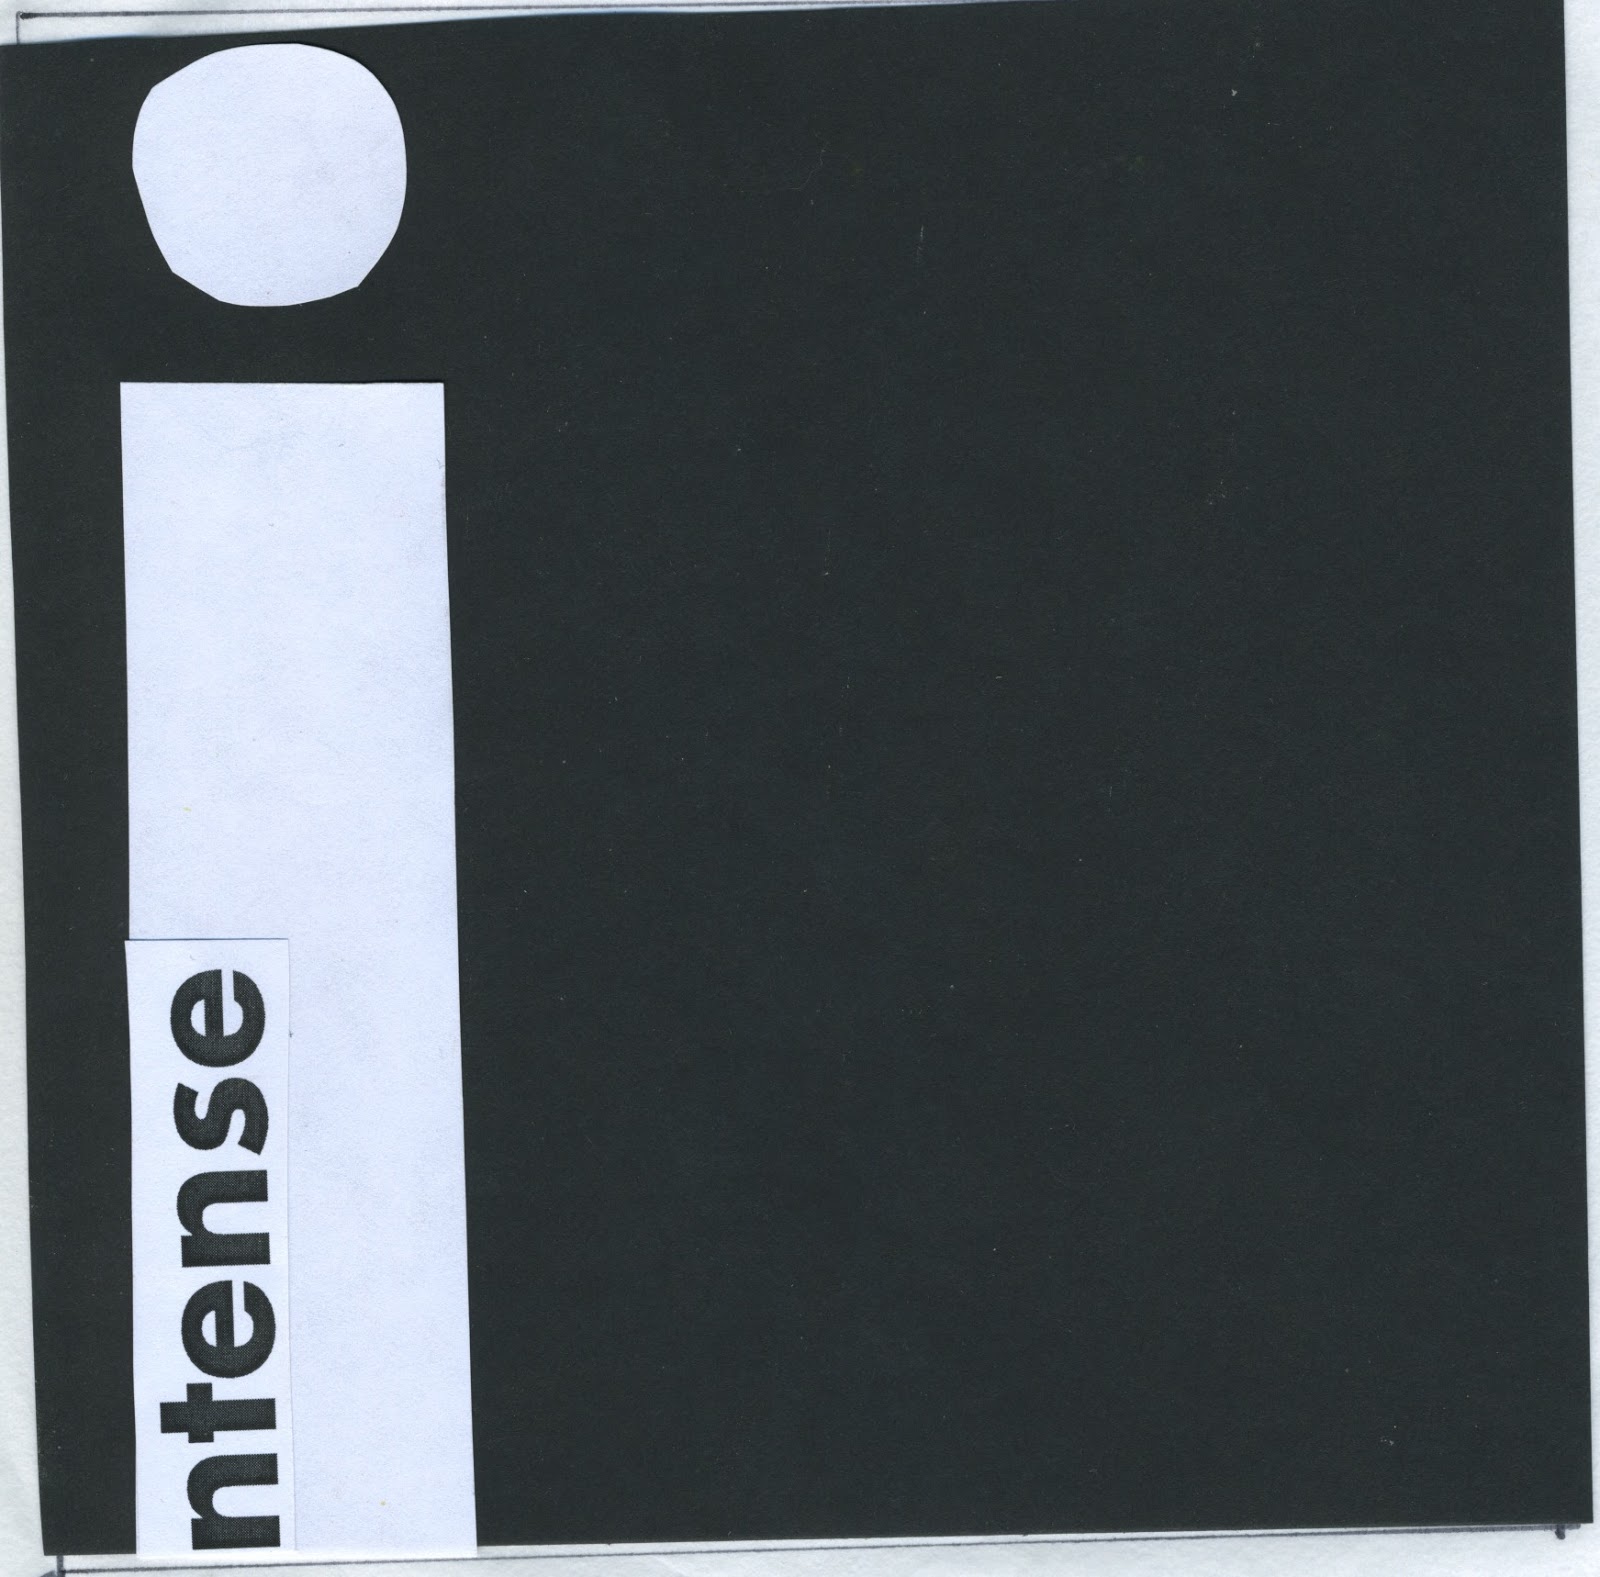
--------------------------------------------------------------

Project 3 Update:
As previously promised, I am going to share my examples of the 6" x 6" squares exemplifying the word "intense". For class, we made 20 but I am just going to show my top favorites as some of them described the word better than others.


If you remember the definition of intense is as follows...
Intense: (adj.)
-existing or occurring in a high or extreme degree
-of an extreme kind: very great, as in strength, keenness, severity, or the like
-having a characteristic quality in a high degree
-characterized by deep or forceful feelings
-highly concentrated
-forceful; severe
synonyms: fervent, PASSIONATE, ardent, strong, keen, powerful
antonyms: calm, dull, low-key, mild, moderate

I think some of these blocks do a great job of displaying these words and I'm hoping to choose one to implement into my design of my process notebook for this project or even perhaps the portfolio book we have to make displaying photos of our 3D letters.

Sunday, November 4, 2012

Inspired by the season

This might have already been completely obvious, but fall is my absolute favorite season. That's why when Anna suggested another mini-shoot session of our outfits we wore to church today I was anything but opposed. I'm going to preface this shoot with 3 easy tips for fall fashion.

Tip #1: Don't be afraid to mix neutrals. Black, brown, grey, navy blue... mixing them together isn't a crime if you do it in the right way.
Tip #2: On warmer days, be bold and wear your knee high boots with a dress or skirt even if you aren't wearing tights. Better yet, add some knee high socks for an added layering detail.
Tip #3: When your outfit is more plain or neutral, add a unique accessory for a special touch.

I'll show you how I incorporated all of these fall fashion rules below.

Denim shirt: Old Navy
Dress: H&M
Socks: Target
Boots: Target
Earrings: Homemade

Incorporating tip #2: I added these cream socks under my boots for a little
 bit of warmth and to tie the whole outfit together.


Incorporating tip #3: I added these lace earrings I made from a pinterest how-to you can
find here. Since my dress was a little more plain I thought this addition would be nice
especially to match the cream socks.


Incorporating rule #1: even though the bow on my dress was black, I knew pairing it with brown boots and cream socks wouldn't be too much even though sometimes black and brown don't mix well.


I also got to photograph Anna Sabatini's fashionable church ensemble!


I love the way she paired the black jacket with the black boots, it makes her look totally BA. I also really like the gold belt, which pops against the darker details of the rest of the outfit. I don't want to spoil all of the good shots from her shoot, however, so instead just hop on over to her blog by clicking here to see the rest of the photos.